Plumbing Adventures
Replacing the Toilet
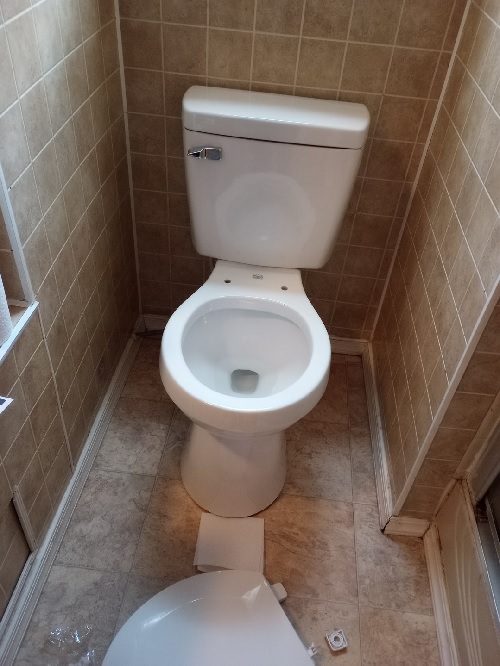
The very first thing I did to my new home was replace the toilet... Exciting and fun! The old toilet wasn't awful or anything, but its flush was Very weak, evidenced by the leftover shit that was still in the bowl. Kinda need a working toilet to live there so that was the first thing to work on.
I didn't know anything about toilets before this, I just figured I could try, learn something new, and save money. Worst thing is I'd have to call someone and spend the same money as if I called first thing. Thankfully I had this lovely youtube video on how to replace a toilet to guide me and was successful!
So I went out to buy a cheap new toilet from [chain home improvement store]. I had a bout of social anxiety the first time, so all I did was look at the toilets and then leave without one, because I wasn't sure if I should try to get it onto the cart thing myself or ask an employee for help. The second time I asked an employee for help because they are fucking heavy and I did not want to break it. It was 88lbs (40kg) and around 100$. Interesting to note in my shopping experience is that any color other than pure white is way more costly than basic white of the same model, not sure why.
Putting it in my car was mmm. Not fun, but taking it out of my car was even worse because I had zero (0) help. 88lbs from the back of my car to the asphalt of a driveway? Scary. I somehow managed it and eneded up having the cartwheel the box from my driveway up my porch stairs and into my house. I was able to slide it from there into my bathroom.
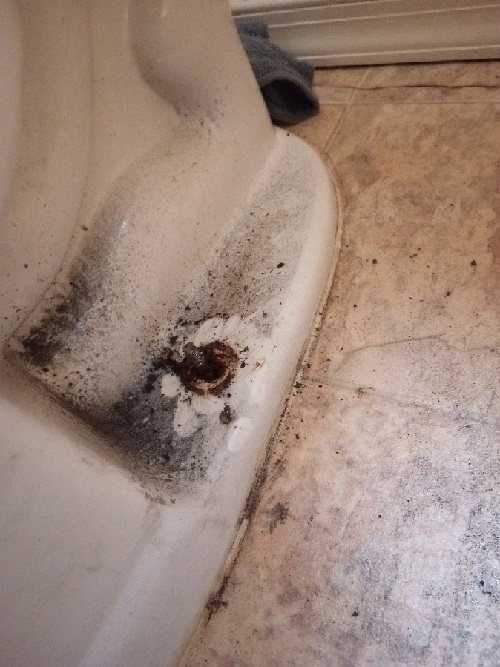
Of course you have to remove the old toilet before you put the new one in. First you have to turn off and disconnect the water line to the toilet and the flush the toilet to get rid of the water. To make it lighter for a single person you take the tank off first, which means you have to soak up the remaining water in the tank, or it will spill out the holes where its connected to the bowl. Removing it is as simple as undoing the winged nuts on the bolts holding the tank to the bowl and lifting up. the bowl itself is also bolted to the floor. That would have been easy to undo if it weren't for the fact that the nuts were rusted to the bolts, making it impossible. The only thing I could do was cut the nuts off, which is way easier said than done. The little plastic covers over the bolts were also harder to take off than expected.
I ended up having to borrow a small hand dremel from my mom and getting a special metal cutting saw blade to cut the rusty nuts off the bolts. It did infact work. I could Finally take the old toilet Off. Unfortunately the waterline was leaking the whole time so I had to keep a towl under it (just from the part you screw on the toilet so I was hoping it'd be fine after I hooked it up to the new toilet). It was heavy, but once I put it on a peice of the new toilet's cardboard box to protect the floor from nastiness, I could slide it with the cardboard.
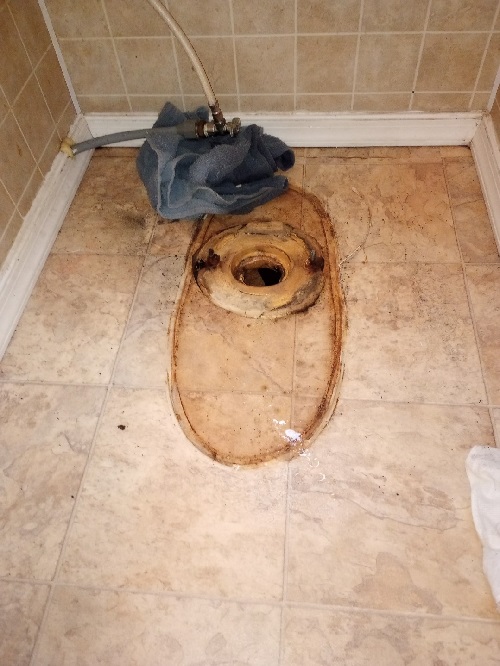
Next I had to scrape the old wax off of the floor, which revealed a black plastic fixture in the floor that the bolts for the toilet secure into. It was gross but I had gloves. I put the new bolts in and was able to put the new bowl ontop of them easy enough. The toilet came with a new wax ring to seal it to the floor which I put on the bottom of the bowl. I thought lifting the bowl over the bolts was gonna be the hardest part, but it didn't have anything on removing the old rusty bolts or getting the whole new toilet into my house. The new nuts for the bolts were plastic which is nice so they won't rust together.
After that it was just putting the new tank on the bowl and hooking it up to the water line, which was nearly as easy as taking the old tank off. It flushed just fine and I was happy to have done it myself.
Now you'll find that mobile home floors can be a bit uneven, and it was in my bathroom, which means the front part of my toilet sticks up a little bit higher than the back on the floor, but the was seal appears to be working and I haven't seen any leakes around the toilet on the floor.
There was infact a period though where I found water on the floor next to the back of the toilet, but not coming from under it, rather it was dripping from the bottom of the tank. I took the tank off and put it back on but it still happened. It was a very slow and tiny leak, so it was easily contained by a cereal bowl for a couple of days. Eventually it just stopped leaking and my bowl remained dry. I guess maybe the rubber seal from the tank to the bowl just needed to settle in place?
Recaulking the Shower

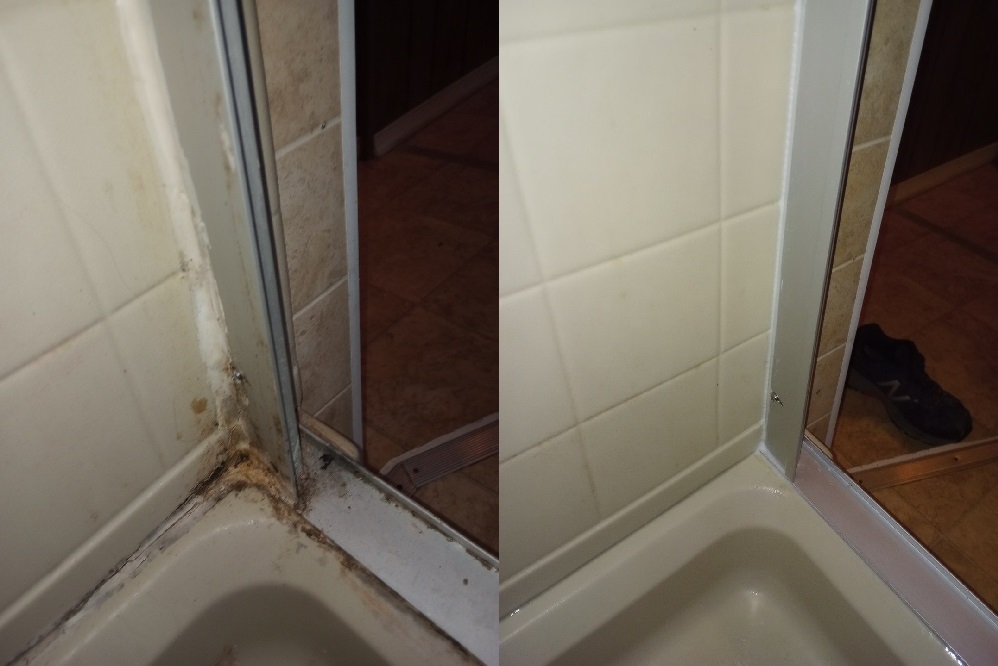
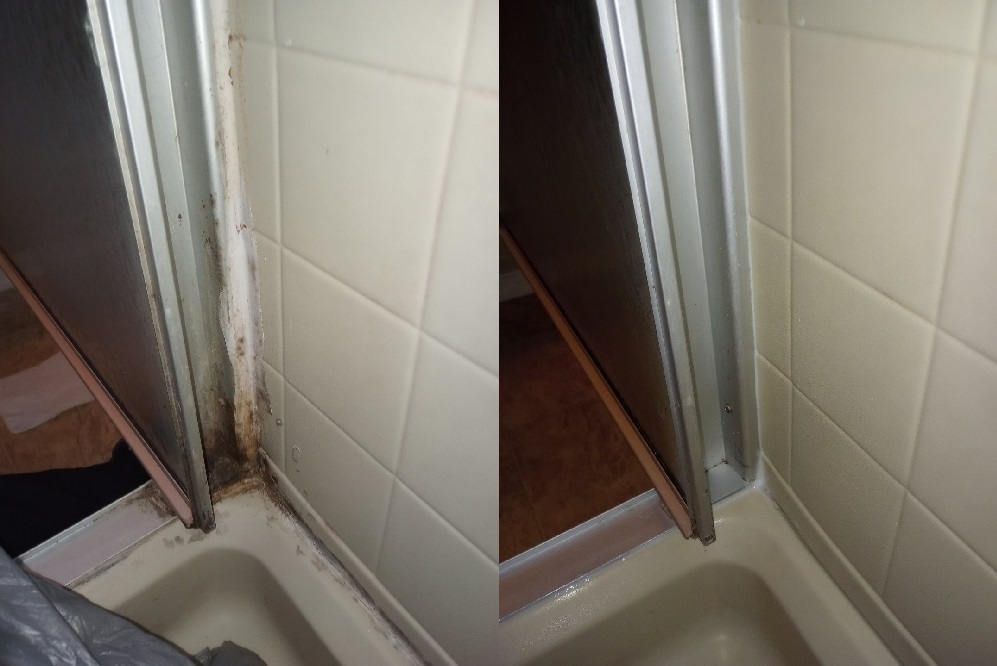
With the toilet gone, my next project was recaulking the shower. I noticed it when I took my first tour of the trailer, that the caulk in the shower was moldy and cracked, but I figured that would be an easy DIY. It was probably the cheepest, only costing caulk, a caulk gun, and some solvent, but it was infact the worst. I would rather install another toilet than recaulk that same shower.
When online guides tell you its an afternoon project that can be completed in one day, they are lying. That or they are using soft fresh new silicon caulk as a reference, and not hard cracked moldy caulk (which is the whole reason I had to get rid of it...). I suspect the previous owners may have used a non bathroom grade caulk, and thats why it got so hard and moldy.
But no, I had to scrape at that shit for two whole weeks everyday after work. Some of it was even harder than the plastic tray that the bottom of the shower is made up out of. I tried tricks to soften it such as WD-40 but it did nothing, so I ended up buying a goo-goneish product just for softening caulk. It said it would remove it easy after one application, but I still had to reapply and scrape, but honestly I was just glad it softened it up enough for me to scrape, even if I had to use almost the whole thing.
Once it was fuly clean and dry I replaced the caulk, using painters tape as a guide bc I knew I would be Messy. I initally planned to use all white for it, since the bathroom has white accents, but I accidentally bought a big thing of clear caulk after I used up all my small white caulk, and I was over it so I used it anyways. It was probably for the better though because the shower tray space between the walls was really thick and I got messy with it, which the white would have shown.
Replacing the Shower head
I don't have any pictures for this one, but after I had my shower all cleaned up I wanted to change out the old shower head. I really like a detatchable hosed shower head for rinsing off so I got one. Only problem is, I couldnt get the old one off. I tried so hard with everything, soaking the shit out of it in WD-40 and it just would not loosen. I then tried something. I unscrewed the metal pipe that the shower head screws into (the shower arm). It came out so easy. So now all I had to do was buy a new shower arm, put it in, and put the new shower head on it. So I did just that. Then I tested my water. It worked except water was spurting out of where the shower arm attatches to the plumbing right behind the wall.
I had to call a plumber for that one. He was a nice man younger than me and he fixed it in an hour for a little over 100$. It was a bit jerry rigged back behind the shower wall (not surprising being and old mobile home), but he fixed it more securely. Now he didn't center it quite right with the hole the shower arm sticks out of, so now I have an open hole up there that I don't know how to cover nicely, but at least my waters not leaking.
Replacing the kithen Faucet

This was so easy, probably the easiest DIY I've ever done. There are two threaded pipes that attatch your faucet to the waterlines (hot and cold), and two nuts that secure them to the sink. You undo the old nuts and disconnect the water lines (turn them off first). Then you can just lift the old facet off, clean the area and put the new one in the same way.
I was a bit frustrated that I had to replace the whole faucet though, becvause it was only the nozzle part of the pull down spray house that was broken. I was hoping I could just replace that, but I couldn't find Anything that fit right. So I had to suck it up and just buy a whole new faucet. It was about 50$ from [home improvement store].
The only thing I had trouble with in the process, was getting the old winged nuts loose on the old sink. Turns out you can place a screwdriver in the corner of where one of the wings comes out, and use a hammer to tap it loose! Thats a real DIY tip I learned from a video that wasn't just Buy Expensive Tool.